Welcome amateur detectives and mystery lovers to our Unsolved Case walkthrough. This is the first installment of what Eleven Puzzles, the developer and publisher, promised to be a series. The release date was on November 24, 2022, and it has garnered very positive reviews all around.
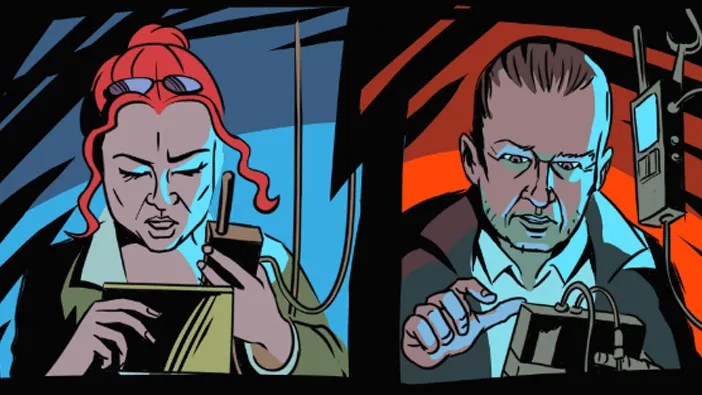
The game follows two detectives nicknamed Ally and Old Dog. They are ex partners and haven’t worked together for a while. Their lives now seem meaningless, without purpose, as they are swallowed by daily routine.
However, from out of nowhere, both our detectives receive a package familiarly marked and both know instantly it has something to do with the Cryptic Killer. It is an old case they worked on together, an Unsolved Case. And the one that broke their spirit it seems.
This new lead reconnects old partners as they ponder if it is a copycat killer maybe, or a trap set by the original uncaught perpetrator. Story-wise, this game is a prequel to the award-winning Cryptic Killer board game series.
Unsolved Case game takes us back in time as the killer toys with his two adversaries representing the law. They three have history that we as players slowly uncover in this title. Other games from the Cryptic Killer series are (in order):
- Murder of a Millionaire
- Murder at the Movie Theater
- Murder of a Marine Biologist
- Murder at the Magic Mirror Casino
- Murder at MediLuck Medicines
NOTE: The Unsolved Case is a free-to-play online multiplayer Co-Op game and it can only be played with two players. They must play together in the same session, communicate and collaborate to solve the riddles and challenges together, cracking various codes as they go.
It can only be played in the multiplayer Co-Op mode so you need your partner in crime, or in solving crime better yet. This first part of the story is designed to be played for about an hour, but it can take forever if the Cryptic Killer manages to confuse you.
For this reason, we will include both Ally’s and Old Dog’s POV in this Unsolved Case walkthrough. Both points of view will be displayed together.
Let’s dive down the rabbit hole with Ally and Old Dog through this puzzle labyrinth and start cracking this case. We will cover all future installments of the game as the story continues, of course. Now, it is time to get the old investigative nose back and pick up the scent…
The two former partners seem to begin their day in a similar fashion. While Ally prepares her coffee, Old Dog goes for something stronger though. At this point, you just click on the arrow in the bottom right corner and continue on.

As they enjoy their mourning routine, they both receive a package, at the same time. Click the arrow again to move on.

However, as we can see, both packages are absolutely the same. Both boxes are marked with the initials CK. Simultaneously, Ally and Old Dog come to the same conclusion…it’s the Cryptic Killer. And, they both reach for the communicator which the two obviously have as a means of direct communication between the two. Probably have them from the old partner days. (Arrow to move forward again)

Rotate the knobs to reach the other player. Both players need to rotate the existing knobs on their radios to match the frequency waves like it is matched on Ally’s here:

The two detectives manage to contact each other and they immediately assume they are both seeing the same thing.

Both Ally and Old Dog remember the Cryptic Killer well, and they are not happy about this. The case has been closed for years but they both got the package now. Ally calls for action in cracking the code and opening the packages.

To open the CK case, there are several things Ally and Old Dog need to do. Firstly, they need to listen to the cassettes of their old CK case where they were examining a suspect. In the tapes, we find out that the questioning dates back to 1995. and that Old Dog’s name is Steve, among other things.
To use the tape recorder, tap it on the wall. It is in the same position in both rooms.
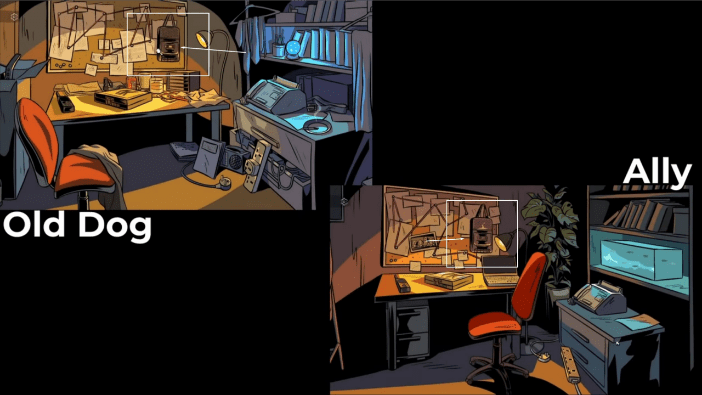
Tap, hold, and sweep (or click, hold, and drag) the cassettes one by one to listen to the files. The goal is to align them in chronological order to get the number 8, which is the last digit to open both cases. Use the pencil to write down the chronological order of the tapes if you want to solve it on your own.
(note: if the tape gets tied up, use the pencil to repair it, millennials may not know about this)


After we’re done with the cassettes, it is time to use the fax machine. It is another “blast from the past” device. It is located at the same spot in both offices. Firstly, make sure they are both plugged in the electricity. Just tap and drag the cord to the socket. Then, tap on the device to start using it:

The goal is for Ally and Old Dog to each send the other person their copy of the document that is right next to the fax machine. Tap on the Power button to turn it on. The most important thing to know is when one is sending the document they must tap sending, while the other one must wait and tap receiving. Otherwise, it won’t work and Ally will even ask herself “why is it moving so slowly?”

So, you can’t be both sending or receiving the documents at the same time. Just coordinate which one is doing what, and adjust.

After you both got your two documents, the goal is to align them to get the letters behind the empty spaces. They will give you the second figure for the opening of the CK case. For Old Dog the second number is 7 (2+5). For Ally, it is 3 (2+1).

You can set the second number on the case straight away or later, it doesn’t matter when.

Next, tap on the pictures on the board in the back of the room. Old God has an anatomical drawing, while Ally has a photograph of some broken toys.

In Ally’s photo, from left to right, all figures have a different body part missing. What Old Dog needs to do is to draw a line with his pencil between each of those body parts, in that same order (left to right) on his autopsy photo. This will give you the number 4, the first number for both CK boxes:

Enter your numbers and open the cases:

After opening it, you will get three cinematic screens as Ally and Old Dog meet up in front of an old warehouse. They were led here by the clues in the CK boxes.


Our detectives split up again and they both have different puzzles to solve. Ally needs to get the radioactive balls through appropriate tubes to Old Dog so he can find the correct value. The correct value is displayed on the scales with the symbols of the balls

Just tap or click and drag & drop the balls into the top shaft. We will show an example with one that has an electricity sign on it. Each ball needs to be guided to the hole with the appropriate sign, so electric to the electric tube below. Tap the differently colored blockades to remove them and guide your ball. Old Dog waits at this point and controls the tube blockades on his pad.

Old Dog controls the blockades by turning them off or on with his control pad. Here, when the lightning ball is at this position, turn off the red ones first, then the yellow ones. Then get the red blocks back and turn the blue ones off, like so:

When the lightning ball arrives to Old Dog, he can drag & drop it on the scales to measure it and write down the results. Ally should get another ball to him and so on, until you get all the balls with the symbols on the scales:

As you get the balls through, measure them and write down their values above the scales in the precisely the same order as they are on the scales, left to right.

After you get enough balls through you should be able to reach the value of 8. You need a minimum of 4 balls to do that.

This number 8 is the third value for the other CK controls with the three symbols. 8 is for the last one, the symbol of the tubes, so remember it:

Next, tap on the remote control for the TV with Old Dog and on the calendar on the desk with Ally:

The goal is to connect the dates with the events you get on the TV in that order. But, first go to the channel 434 on the TV, as those are the figures on the calendar’s heading:

Now, the channels will switch on their own, starting with fireworks, then news, then cooking, then football, then B-day, and finally the dog show. Connect the dates in this order on the calendar in draw mode:

You will get a zero, which is the middle number for the CK controls, the number for the TV symbol on it. Remember it or beter mark it down right away.

Next, Old Dog must guide Ally through the warehouse as she drives the forklift. To access this puzzle, tap on the forklift with Ally and tap on the security monitors with Old Dog:

The goal here is to arrange the security monitors correctly, so that you can find a path for Ally. Then, Ally needs to steer the forklift through it and reach the designated positions K9, A2, and B4 respectivelly. Two players need really good coordination here, since Ally can’t see the map, so Old Dog player has to navigate through communication. Here is the correct monitor order:

You need to reach the K9, A2, and B4 positions in that order. Ally can go forward or turn left and right. Here is the correct path in order. Red arrows are for reaching K9, then yellow for A2, and finally green for B4:

Reaching each designated position will give you a value or a symbol. Write them down as you discover them. For K9 it’s 5, for A2 it’s +, and for B4 it’s 2. 5 + 2 = 7


This gives you the first number for the three digit combination both Ally and Old Dog need. Enter it to their respective devices. This will open the container and you may proceed to the final puzzle.


Both Ally and Old Dog enter the same container, but from the opposite sides. They realize they are in it together only after the doors lock shut behind them both, as we see in these few cinematic panels:
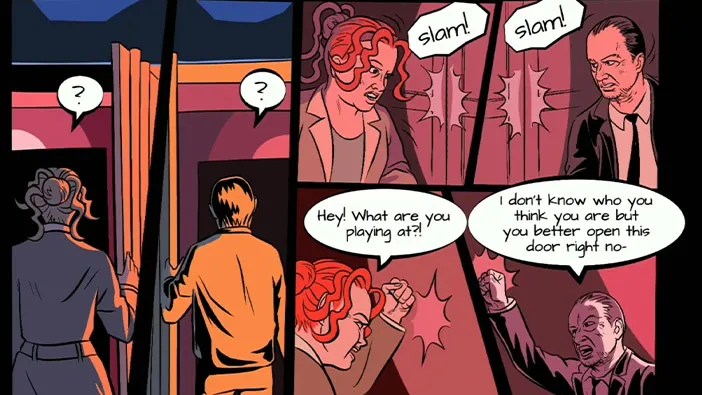
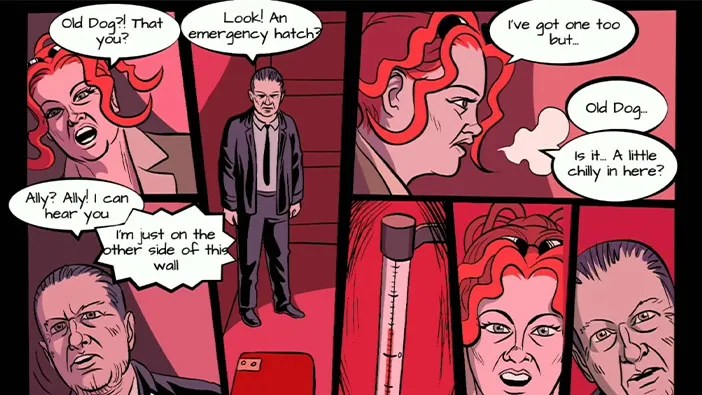
Both Ally and Old Dog find that they have emergency hatches each, but also they feel the temperature going down rapidly. They need to solve the final puzzle to open the hatches.

The trick here is to use the bricks to break the windows and then use the broken glass to reflect the lasers to their respective lenses. Drag & drop the bricks on the glass for starters:

Then both Ally and Old Dog need to use two pieces of glass each, to drag & drop them in the correct position. Also, both need to turn on their lasers by tapping the wall switch, like so:

They need to get the green laser from Old Dog to the green receiver in Ally’s part of the container. And, they need to get the blue laser from Ally to the blue receiver in Old Dog’s part. The correct positions are like so:

As the hatches open, both detectives go through them into the unknown:

They reach what appears to be more puzzles as the voice, supposedly belonging to the Cryptic Killer, tells them it is time to play a game.
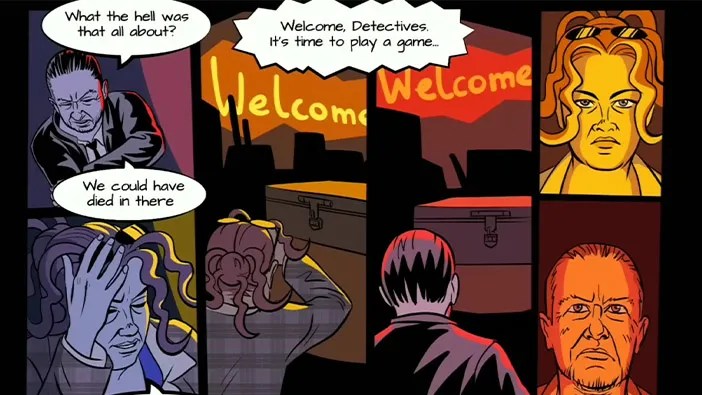
And, that wraps up this first installment of the Cryptic Killer prequel series Unsolved Case. We will make a walkthrough for the next game once it comes out as we are also eager to see how deep this rabbit hole is. See you then people!